You probably have created small projects like calculators or to-do lists as a beginner in software development without having a definitive blueprint, since you relied on Stack Overflow as your primary resource. This form of coding/prototyping is acceptable for small tasks/projects.
However, if you attempt to create a larger project (and/or involve other developers) this way, you will soon find that it is not an effective method for creating software. At this point, the Software Development Life Cycle (SDLC) becomes important because it serves as the ‘roadmap’ that guides real teams throughout the development process, from initial concept/idea through to the completed product used daily by end-users.
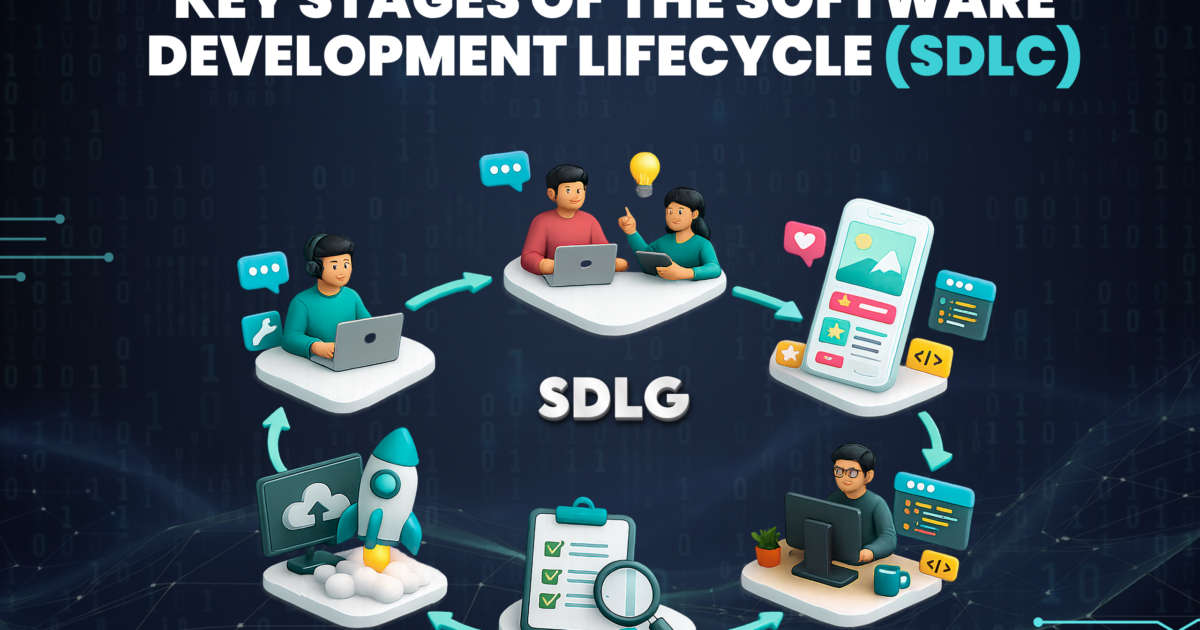
The SDLC consists of 6 stages: Requirements Gathering, Design, Development, Testing, Implementation, and Maintenance. We will go through each stage orderly and explain what happens in these stages.
1. Planning
Before any code is created, the first and most important question must be answered by someone who is willing to give it some thought, even if they think it is a boring question: “should we build this?” This step is focused on determining what the problem you are trying to solve is, if building this is realistically feasible, how long it will take, and what resources will be required to do it.
If you skip this step(s), you may end up three weeks into your project only to find that the team has no real agreement on what the actual project is that they have been working on.
2. Requirements Analysis
Let’s break down the specifics of the requirements stage of your development. What will the purpose of your software be? Who are your users and what will they actually want from your software, rather than what you think they might want? This is the point in your project where less specific ideas, like “I want to develop an app for students,” become solidified into tangible functionality, like an authentication system, an interface to access, and an interface for notifications.
One good rule of thumb for a new developer is to write down or document the requirements either formally or informally. For example: “My app will allow users to save their notes.” It seems obvious now, but if you have created three different files with no indication of whether or not the user can edit his or her notes, you might be getting lost in your project.
3. Design
At this point, we are creating blueprints for our project, including design layouts (blueprints) of each area, how they connect (architecturally) and function with respect to data flow, what types of technologies to use, and how those technologies will communicate with one another.
If you were working on a beginner project, you would develop a rough sketch of your application’s forms or screens, as well as a rough idea of how to design a database. On larger-scale projects, the blueprint phase becomes significantly more formalised and used by developers as detailed tech specs (also called ‘technical documentation’).
4. Development (a.k.a. the part everyone's excited about)
This is the step where you’ll begin coding. This is the step where most new developers want to skip to immediately. If you did a sufficient job on the previous three steps, everything will go smoothly here. Good coding practices at this stage involve writing clean code that is organised according to whatever structure your design has laid out and not just throwing things together until they “kind of work”.
5. Testing
Testing is the part that new people skip over, and it is the most important part that separates a hobby project from an actual software project, and that is where you determine if what you created works. Do you do what you have created? Will you break it when you have unexpected input? Will it crash when a user does something that isn’t expected? Trust me, users will always do something that isn’t expected.
There are two questions for testing:
- Did you create the code correctly?
- Did you create something that solves a problem?
It is important to answer both of these questions.
6. Deployment
After testing has been successful, it’s time to launch your product. This will either mean deploying the product onto a server, publishing it through an app store, or making it publicly accessible for users who will try out and potentially use the software they just received free of charge.
For beginners, there may not be too much to consider before launching their product; simply use the most basic form of hosting that is available to them. However, for businesses, this process is a bit more complex, including many things such as development of rollout plans, development of monitoring systems, and having a method to “roll back” the software release quickly if an issue arises.
7. Maintenance
For many new developers, shipping software is seen as reaching a milestone, however, once real people begin using your application, many unanticipated software bugs will start to present themselves, as well as new functionality requests, requiring continued support and enhancement of your product. In fact, ongoing support and enhancement typically take significantly more time along the life of the product compared to the initial development of the product.